OpenTK Tutorial 1 - Opening Windows and Drawing a Triangle
I’m writing this tutorial because the actual OpenTK documentation is sorely lacking. They have a good explanation for how to install it (which I recommend following before this, since it doesn’t need to be rewritten), but that’s it. There’s a “Learn OpenTK in 15’” tutorial, but it’s not great. You do make something simple, and it does take under 15 minutes, but they just hand you the code instead of having you create any of it. You don’t learn much about what the code does, or why things are done a certain way. I’m going to try to write a better one (using mostly their code).
(As another note, this is technically using a deprecated way to do it, but I’m basing this on their example)
Part 1: Setup
First, install OpenTK. It’s a fairly straightforward process, and the installer makes it very simple.
Now, open your .NET IDE (integrated development environment) of choice that uses C#. I use Visual Studio, but MonoDevelop and SharpDevelop should both work just fine.
The next part will actually follow from the official OpenTK documentation:
Create a new project in your .NET IDE (don’t have a .NET IDE? Check out MonoDevelop or Visual Studio Express). Make it of type “Console Application”. In the “Solution Explorer” pane, right-click “References” and select “Add Reference”. In the Browse tab, select OpenTK and click OK.
OpenTK depends on System.Drawing, so you also need to add a reference to System.Drawing.dll. In the “Solution Explorer” pane, rightclick “References” and select to “Add Reference”. In the .NET tab, select System.Drawing and click OK.
Part 2: Coding
Now we have a basically empty project. What we’ll want to do first is to open the Program.cs file. Right now it’s a basic class, doing nothing. We’ll keep it around for our Main function. To start displaying anything, we need to make a sub-class of the GameWindow type. Add a new class called “Game”. Make it a subclass of GameWindow (you’ll need to add a using directive for OpenTK to use the class).
You should have something like this:
using System;
using System.Collections.Generic;
using System.Linq;
using System.Text;
using OpenTK;

namespace OpenTKTutorial1
{

    class Game: GameWindow
    {

    }
}
Now let’s see our first visible bit of progress. Go back to Program.cs, and add the following code to the Main function:
        using (Game game = new Game())
        {
                game.Run(30.0);
        }
If you run this code, you’ll see a window pop up:
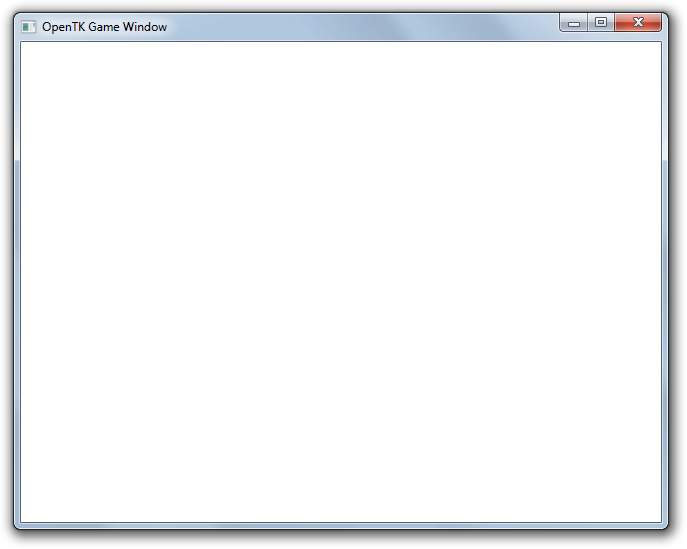
It’s blank and boring, but it’s definitely progress.
The Run method of the GameWindow has multiple overloads. With a single float parameter, Run will give your window 30 UpdateFrame events a second, and as many RenderFrame events per second as the computer will process.
Now, let’s make that window do something more interesting. In the Game class, you have a few methods you can override to add new functionality. The first one we’ll override is onLoad. If you’re using Visual Studio (I can’t say for sure about other IDEs), just typing in “override” and adding a space will give you a list of the methods in the GameWindow class available for overriding. The basic form for this method will be:
    protected override void OnLoad(EventArgs e)
    {
        base.OnLoad(e);
    }
The first thing we’ll change is the title of the window. The code for this is incredibly simple:
Title = "Hello OpenTK!";
At the same time, we can also change the background to be something besides plain white. Again, this code is very simple:
GL.ClearColor(Color.CornflowerBlue);
(Note: to add this, you’ll need to have using directives for OpenTK.Graphics.OpenGL and System.Drawing)
OpenTK also gives us options to specify a color by its components, but for simplicity’s sake I’m using a preset color from the built-in C# Color class.
So now, the OnLoad method should look like this:
    protected override void OnLoad(EventArgs e)
    {
        base.OnLoad(e);

        Title = "Hello OpenTK!";

        GL.ClearColor(Color.CornflowerBlue);
    }
We have to do one more thing before we’ll see this color change, though. Add another override for the OnRenderFrame method, with the following code:
    protected override void OnRenderFrame(FrameEventArgs e)
    {
        base.OnRenderFrame(e);

        GL.Clear(ClearBufferMask.ColorBufferBit | ClearBufferMask.DepthBufferBit);

        SwapBuffers();
    }
We’ll be expanding on this later, but right now you can run it again and see our changes:
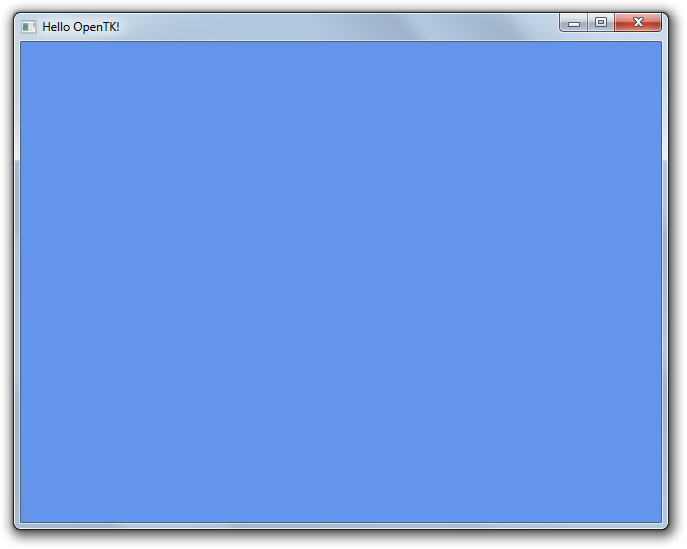
Now the background is blue, and the title is what we want it to be.
Next, we will add code to handle when the window is resized properly. OpenGL needs to be told how to adjust for the new window size, so we need some code that handles it.
    protected override void OnResize(EventArgs e)
    {
        base.OnResize(e);

        GL.Viewport(ClientRectangle.X, ClientRectangle.Y, ClientRectangle.Width, ClientRectangle.Height);

        Matrix4 projection = Matrix4.CreatePerspectiveFieldOfView((float)Math.PI / 4, Width / (float)Height, 1.0f, 64.0f);

        GL.MatrixMode(MatrixMode.Projection);

        GL.LoadMatrix(ref projection);
    }
This code just tells OpenGL where the window is, and how we want it to draw to it. Right now it’s unimportant, but when we’re actually drawing something, or making a real game, it’ll be very important to handle resizing.
Let’s go back to the OnRenderFrame method and actually draw something. The first thing we need to do is to tell OpenGL which direction we’re looking at. Because we’ll be actually making something in 3D, the direction the camera faces is important.
All the code for the next section will go in OnRenderFrame, before the call to SwapBuffers(). This is because we need to draw something before we can swap the buffers. For the uninitiated, we are working with a “double buffered” setup. When we want to draw to the screen, we first draw to a “buffer”, which is later “swapped” to the screen contents. This ensures that everything is drawn on the screen how we want it before the screen is updated.
The following code will have it looking on the plane we’ll draw the triangle on:
        Matrix4 modelview = Matrix4.LookAt(Vector3.Zero, Vector3.UnitZ, Vector3.UnitY);

        GL.MatrixMode(MatrixMode.Modelview);

        GL.LoadMatrix(ref modelview);
Now we’ll want to draw the triangle itself. The first step is to tell OpenGL we want to draw something. We do this with the GL.Begin function. This takes a single parameter, which is the drawing mode to use. There are options to draw quadrilaterals, triangles, points, polygons, and “strips”. We’ll just be using a triangle, so the code we need is:
GL.Begin(BeginMode.Triangles);
The BeginMode class has constants for all the different primitive types we have available:
 from http://www.opentk.com/doc/chapter/2/opengl/geometry/primitives
Now that we’ve told it how we want to draw, we need to give it the vertices for our shape. To do this, we use the GL.Vertex3 function. It takes three floats as coordinates for a single point in 3D space.
            GL.Vertex3(-1.0f, -1.0f, 4.0f);

            GL.Vertex3(1.0f, -1.0f, 4.0f);

            GL.Vertex3(0.0f, 1.0f, 4.0f);
After the vertices have been sent to the graphics card, we need to tell OpenGL that we’re done drawing:
GL.End();
If you run this code, you’ll see your first triangle:

Let’s go a step further. With the GL.Color3 function, we can set the color the triangle is drawn with. You call it before sending the position of the vertex, like this:
            GL.Color3(1.0f, 0.0f, 0.0f);
            GL.Vertex3(-1.0f, -1.0f, 4.0f);

            GL.Color3(0.0f, 1.0f, 0.0f);
            GL.Vertex3(1.0f, -1.0f, 4.0f);

            GL.Color3(0.0f, 0.0f, 1.0f);
            GL.Vertex3(0.0f, 1.0f, 4.0f);
If you run that, you’ll see the following:
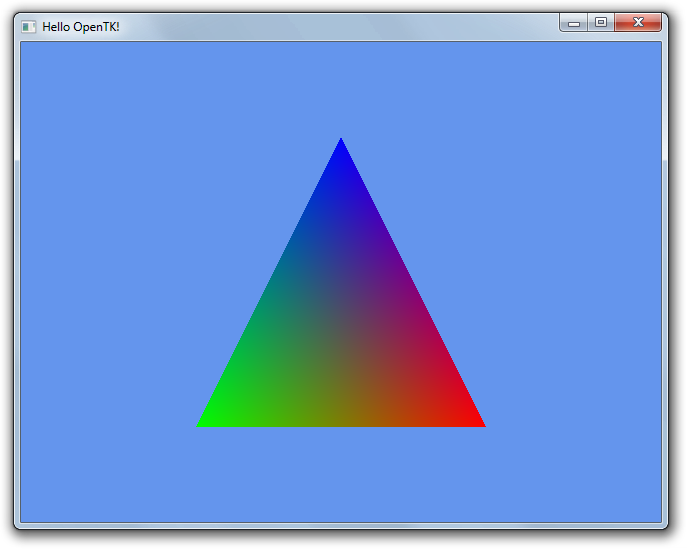
Why is it a gradient across the triangle? That’s because of the default shaders being used. Shaders allow for many really amazing effects, such as bump-mapping, lighting, phong, etc. The default ones simply interpolate between the values given to them for color and position when they draw the vertices. Shaders are a much more complex feature (even using their own scripting language), so obviously they’re possibly content for a future tutorial.